Surely you have an adventurous spirit if you’re here at TrailTrekTribe, a playground for lovers of the great outdoors. Today, we’re excited to share a unique compilation of The Best DIY Camping Gear Projects that you can undertake yourself. Conceived with a fresh perspective, these projects aim to equip you with functional, self-made gear to aid your camping adventures. Noah Parker, founder of TrailTrekTribe, brings years of hard-earned wisdom from his countless wild expeditions to guide you through each project. Known for our relatable, rigorous gear review process, we’ve handpicked these DIY ideas to ensure they are practical, enjoyable, and will bring value to your outdoor expeditions. So strap in, ready your tools and prepare for a creative journey that will inject a fresh, handmade touch to your camping experiences.

Customizing Your Tent
Customizing your tent to meet your unique needs can make your outdoor adventures even more enjoyable. The first step is to choose the right materials. Consider both the tent’s durability and weight. Lightweight materials like nylon and polyester are ideal for a portable, easy-to-carry tent. However, for long-term use, you may need more robust materials like canvas.
Designing your ideal floor space
When it comes to floor space, consider your needs and preferences. The size and shape of your tent should not only accommodate the number of occupants but also allow for comfortable movement and storage. If possible, try to keep some areas for sleeping, cooking, and lounging separate.
Adding functional storage spaces
Storage is crucial, especially when camping for a longer duration. Incorporate pockets and compartments into your tent design for holding essentials and keeping your tent tidy. Consider adding a gear loft for items you need to access easily.
Weatherproofing ways
Weatherproofing your tent is vital to maintain comfort and safety in varying weather conditions. Use a waterproofing spray to treat the tent walls and seams. Add a reliable rainfly and groundsheet to prevent water seepage and consider a ventilation system to prevent condensation build-up.
Building Your Portable Stove
A portable stove is an invaluable tool for outdoor cooking. When selecting a suitable metal can for this DIY project, consider both durability and size. Tin cans are readily available and can withstand high temperatures.
Creating air vents
Once you have your can, it’s time to create the necessary air vents. These will improve burning efficiency and enable temperature control. Remember to place them strategically for optimal ventilation.
Setting up a fuel mechanism
Your stove needs a reliable fuel mechanism. While solid fuels like wood or charcoal are accessible and easy to use, liquid or gas fuels allow for easier control of flame size and heat intensity.
Safety measures to consider
Building your portable stove requires safety precautions. Wear protective gear during construction, never leave your stove unattended while in use, and ensure that it is completely extinguished before packing up.
Crafting A DIY Camping Chair
Creating your own camping chair can be a rewarding project. Start by selecting sturdy yet lightweight materials. Aluminium tubing is a popular choice for the frame, thanks to its strength and portability.
Assembling your portable chair
Assembling your chair involves cutting the frame into pieces of desired lengths, connecting them with joints, and attaching a fabric seat. Ensure that all parts are securely fastened for stability and safety.
Adding comfort with cushioning
Consider adding a cushion or padding to your chair for extra comfort. You can also incorporate a headrest, arm support, or footrest, according to your preference.
Making A Personalized Hammock
A personalized hammock can take your camping relaxation to new heights. Start with selecting the right fabric – parachute nylon or polyester fabric are durable, lightweight, and comfortable options.
Creating a durable suspending system
Your hammock needs a reliable suspension system. Ropes, straps, and carabiners can ensure a strong and safe hang. Consider adding attachment points to your hammock for flexibility in setting it up.
Adding protective features like a bug net
To facilitate peaceful rest, consider adding protective features to your hammock. For example, a bug net can keep out pesky insects, and a tarp can shield you from the weather elements.

Assembling A Portable Camping Shower
A portable shower can be a great comfort during extended camping trips. Assemble the necessary components – a water tank, hose, nozzle, and a heat source to warm the water if desired.
Assembling the water holding unit
Next, put together the water holding unit. Ensure that it is durable and leak-proof. An elevated platform can facilitate water flow by gravity.
Making a functional pressurized system
To facilitate a steady water flow, consider adding a pressurized system. This could be as simple as a hand or foot pump. For maximum luxury, you could opt for a battery-operated shower pump.
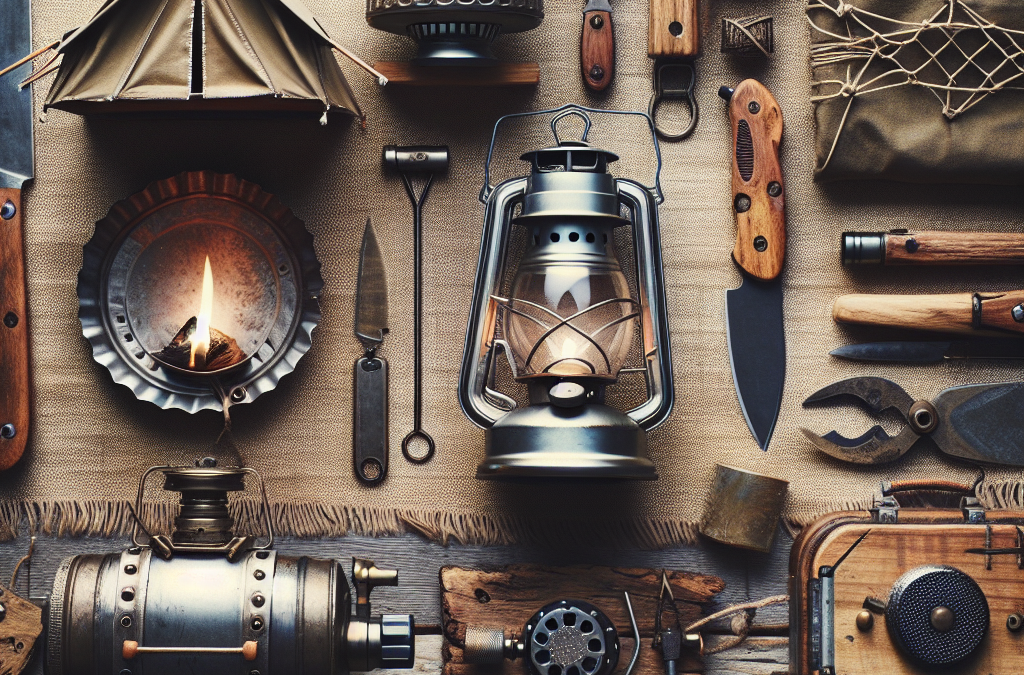
Creating A DIY Camping Lantern
Crafting your own lantern can provide both light and enjoyment. Start by choosing a durable canister. Plastic or metal containers, especially those with handles, make good lantern bodies.
Installing a bright LED system
Next, install a lighting system. LED lights are the most efficient, offering bright illumination for minimal power consumption. Choose a set with variable brightness settings for convenience.
Ensuring a reliable power source
Your lantern needs a reliable power source. Battery-powered systems are portable and easy to use. Solar-powered options are an eco-friendly alternative, while rechargeable units can save on battery costs.
Building A Simple Fire Starter Kit
Every camper needs a reliable fire starter kit. Start by gathering necessary materials – a compact waterproof container, tinder, and a fire-striking tool.
Assembling the kit
To assemble your kit, place a good quantity of tinder in your container. Add your fire striking tool and any other extras like mini candles or lighters. Make sure the kit is easy to open, even with numb fingers or one hand.
Safety precautions to take
With a fire starter kit, safety is paramount. Always have water close by, don’t light fires near flammable materials, and never leave your fire unattended.
Crafting A Handy Multi-Tool
a multi-tool is an incredibly valuable piece of camping gear. It’s the Swiss Army Knife of the camping world. Start by identifying the tools you need most – a knife, saw, can opener, bottle opener, screwdriver, maybe even a mini tape measure.
Assembling your multi-tool
Once you’ve identified your necessary tools, it’s time to assemble your multi-tool. This could involve purchasing individual components and housing them within a compact, foldable casing, or modifying an existing multi-tool to better meet your needs.
Keeping it compact and portable
It’s important to keep your multi-tool compact and portable. A great multi-tool is lightweight yet capable, combining maximum functionality with minimum bulk.
Designing A Functional Camping Sink
a camping sink can make cooking and clean up much easier. Select a suitable container – foldable ones save space and are easy to transport, whilst plastic basins are low-cost and lightweight.
Creating a water inflow and outflow system
Next, create systems for water inflow and outflow. Ideally, your sink should have a tap or spigot for easy water access, and a drain for ease of disposal, which can be plugged when necessary.
Ensuring hygiene and easy cleanup
Add features to ensure hygiene and easy cleanup. A removable dish rack can help manage clean and dirty dishes, and a cover can protect the sink contents from bugs and debris.
Making Your Camping Cooler
A cooler is essential for storing perishables and keeping your beverages chilled. Choose the right size, considering how many people you’re catering for and the duration of your trip. A well-insulated cooler maintains temperature best.
Assembling your cooler
Once you’ve selected the ideal cooler size, it’s time to assemble it. This might involve fitting an appropriate insulation material and adding fixtures like handles and a lid.
Ways to maximize cooling efficiency
To maximize your cooler’s efficiency, chill items before placing them in, pack your cooler in reverse order (first in, last out), and try to limit the number of times you open it.
In conclusion, with a bit of creativity and some DIY skills, you can craft Your own camping gear that meets your specific needs and preferences. Happy camping and enjoy your DIY projects; we can’t wait to see what you’ll create!