If you ever find yourself in need of clean drinking water while out in the wild or during an emergency, knowing how to make a solar still can be a lifesaver. This article, “How To Make A Solar Still For Water Purification,” will guide you through the simple yet effective process of creating your own solar still. You’ll learn the essential steps, from gathering materials to the final construction, ensuring you can purify water using the power of the sun. It’s an invaluable skill that promises to keep you hydrated and safe, no matter where you are. Have you ever found yourself in need of clean water but had no access to a reliable source? Maybe you are an adventurous hiker, an emergency preparedness enthusiast, or simply someone curious about sustainable practices. Whatever your reason, learning how to make a solar still for water purification can be an invaluable skill. In this guide, we will take you through the process step-by-step so you can master the art of solar water purification.

Understanding the Basics
What Is a Solar Still?
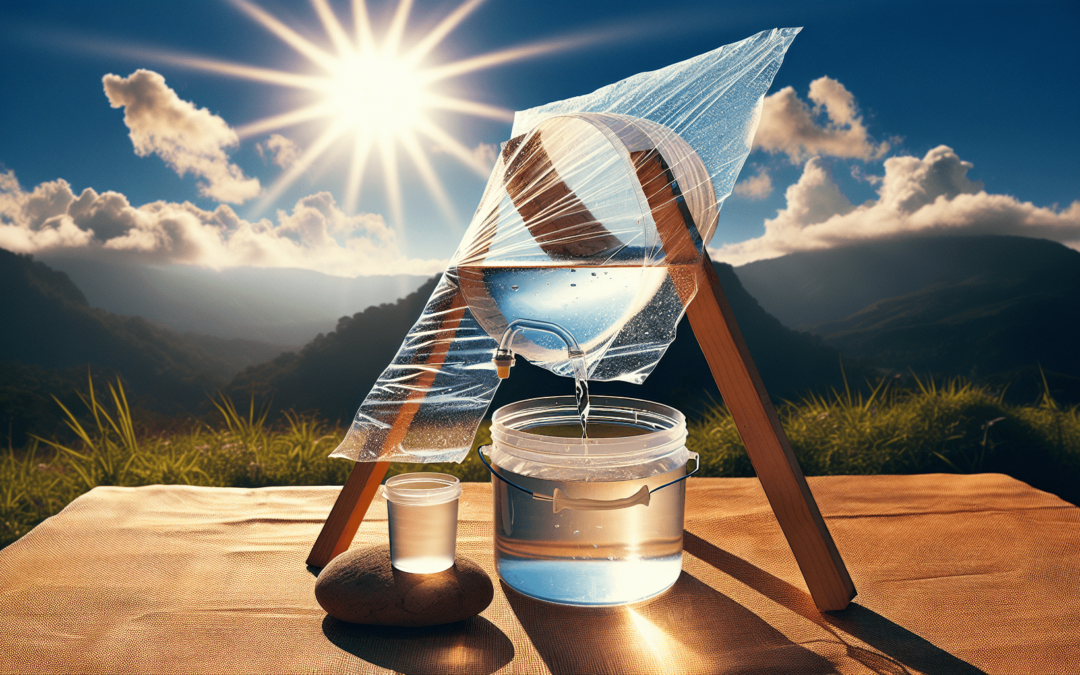
A solar still is a device that uses solar energy to purify water. The process involves evaporating water and then condensing it into a clean, drinkable form. It’s a simple yet effective way to turn unsafe water into potable water.
Why Choose a Solar Still?
Solar stills are environmentally friendly and rely solely on the sun’s energy. They are an excellent choice for those looking to purify water in remote areas, during emergencies, or for sustainable living. Additionally, they require no electricity and minimal maintenance.
Materials You Will Need
Before diving into the construction process, let’s gather all the materials you will need. Here’s a handy table to help you:
| Material | Quantity | Purpose |
|---|---|---|
| Clear Plastic Sheet | 1 | To create the greenhouse effect |
| Digging Tools | 1 set | To create a basin in the ground |
| Container | 1 | To collect the condensate |
| Small Rocks | Handfuls | To hold down the plastic sheet |
| Vegetation | Optional | To add more moisture for evaporation |
Step 1: Choosing the Location
Your first task is to choose an optimal location for your solar still. This spot should receive plenty of sunlight throughout the day.
Sunlight Availability
Ensure that the chosen site is free from shade during key sunlight hours. The more sunlight your still receives, the better it will function.
Ground Composition
The ground should be easy to dig into. Sandy soils are ideal, but other types can work as well. Avoid rocky terrains, as they can make the digging process difficult.
Step 2: Digging the Basin
Once you have selected your location, it’s time to dig the basin.
How Deep and Wide?
Dig a hole about 3 feet in diameter and 2 feet deep. This size is optimal for maximizing evaporation while being manageable to dig.
Shaping the Basin
Shape the sides of the basin to resemble a funnel, sloping towards the center. This design ensures that the evaporated water condenses and flows towards the collection container.
Step 3: Placing the Collection Container
This step is crucial for collecting the purified water.
Positioning
Place the collection container at the center of the basin. Ensure it is stable and upright. If it tips over during the process, you will lose the purified water.
Stability
You can use small rocks around the base of the container to anchor it and ensure it won’t move. This added stability can be very beneficial.
Step 4: Adding Moisture (Optional)
If you want to speed up the process or are working in an arid area with little natural moisture, consider adding vegetation.
Using Vegetation
Place fresh leaves or grass around the edges of the basin, avoiding the center where your container sits. As these materials decompose, they will release additional moisture into the basin, enhancing the evaporation process.

Step 5: Covering the Basin
The next step is to cover the basin with your clear plastic sheet. This is where the magic happens.
Securing the Edges
Use rocks, soil, or other heavy objects to secure the edges of the plastic sheet around the basin. Make sure the covering is airtight to trap the solar heat effectively.
Creating a Dip
Place a small rock in the center of the plastic sheet directly above your collection container. This will create a small dip in the sheet, guiding the condensed water to drip into the container.
| Securing Edges Tips | Creating a Dip Tips |
|---|---|
| Use enough weight to avoid air gaps | Ensure the dip is right above the container |
| Check for tears or holes | Re-adjust if necessary when the sun rises |
Step 6: Monitoring the Still
While the solar still operates with minimal supervision, it’s wise to check on it periodically.
Daily Check-ups
Verify that the plastic sheet remains in place and the dip is still positioned over the collection container. Make any necessary adjustments to maintain efficiency.
Harvesting Water
Depending on the sun’s intensity and the local climate, you can expect to collect water by the end of the day. Carefully remove the plastic sheet and retrieve the container when you are ready to harvest the water.
Step 7: Drinking the Water
The water collected in your container should be safe to drink, having gone through the evaporation-condensation process. However, it’s always good practice to give it a final inspection.
Inspecting the Water
Look for any dirt or debris that might have fallen into the container. If needed, you can filter the water through a clean cloth before drinking.
Enjoy Refreshing, Clean Water
Feel a sense of accomplishment as you drink the purified water. Not only have you successfully created a solar still, but you have also practiced an essential survival skill.
Maximizing Efficiency
For those looking to get the most out of their solar still, here are some tips to enhance its efficiency.
Increasing Surface Area
The larger the surface area exposed to sunlight, the more evaporation you will achieve. Consider making multiple smaller basins to increase overall output.
Seasonal Considerations
In colder weather, the evaporation process will be slower. Aim to build your stills in the hotter months to maximize efficiency.
Reflective Surfaces
Lining the inside of the basin with a reflective material like aluminum foil can focus more sunlight into the basin, speeding up the evaporation process.
Common Mistakes to Avoid
Even the simplest methods can sometimes go wrong. Here are some common pitfalls and how to avoid them.
Incorrect Placement
Placing the solar still in a shaded or uneven area can significantly reduce its efficiency. Make sure your site is well-illuminated and level.
Poor Sealing
If the plastic sheet is not secured properly, air can escape, reducing the greenhouse effect. Always ensure a tight seal around the edges.
Inappropriate Container
Using a container that’s too small or unstable can lead to loss of collected water. Choose a sturdy, appropriately sized container.
Advanced Techniques
Once you’ve mastered the basic solar still, you might be interested in more advanced techniques.
Double-Layered Still
Adding a second layer of plastic can create a more efficient condensation process.
Solar Still Kits
Commercial solar still kits are available for those who want a more permanent and efficient solution. These kits often come with enhanced features and can be a worthwhile investment.
Frequently Asked Questions
How Much Water Can I Expect to Collect?
The amount of water you collect will depend on the sunlight exposure and local humidity. On average, a well-constructed solar still can produce about a quart of water per day.
Can I Use Saltwater?
Yes, one of the benefits of a solar still is its ability to purify saltwater. The process separates the salt from the water, leaving you with fresh, drinkable water.
Is It Safe to Drink Directly?
While the water collected should generally be safe, it’s always best to run a quality check for any visible contaminants.
Conclusion
Creating a solar still for water purification is a life-saving skill that combines basic survival tactics with sustainable living practices. It’s easy to set up, requires minimal materials, and relies only on the power of the sun. Whether you’re in a survival situation, camping, or just exploring eco-friendly water purification methods, this guide provides you with all the information you need to get started. So, why wait? Grab your tools and get started on building your own solar still today!