In the charming world of outdoor adventures, there’s something truly special about crafting your own tools from the environment around you. In “Building A Camp Oven From Natural Materials,” you’ll discover the step-by-step process to create a functional and efficient camp oven using only the natural resources at your disposal. This guide will lead you through selecting the right materials, designing your oven structure, and mastering the art of primitive cooking. Embrace the satisfaction and joy that comes with building a camp oven and transform your outdoor cooking experience into a delightful and memorable adventure. Have you ever found yourself deep in the wilderness, craving a warm, hearty meal, but lacking the tools to cook it? Imagine the satisfaction of building your own camp oven using only natural materials found around you. Not only would you impress your friends and family, but you’d also elevate your outdoor experience to the next level.

Why Build a Camp Oven?
Building a camp oven from natural materials isn’t just a fun project; it’s a useful skill. Knowing how to construct your own oven can be a lifesaver in survival situations. It also adds a sense of accomplishment and self-reliance to your outdoor adventures. Plus, it enables you to cook a broader variety of meals than you could over an open fire.
Collecting Your Materials
Before you begin constructing your camp oven, gather the necessary materials. Keep in mind that the specific materials you’ll find may vary depending on your location.
Essential Natural Materials
- Clay – A binding material that will act as the primary substance for your oven.
- Stones – Large, flat stones are ideal for the structure.
- Wood – For creating a wooden frame as a base for your oven.
- Leaves and Twigs – Useful for igniting the initial fire.
- Sand – To help firm up the structure and insulate the oven.
- Water – To mix with the clay for better consistency.
Optional Enhancements
- Animal Dung – Acts as a natural fireproofing agent.
- Ash – Mixed with clay, it can enhance the thermal properties of your oven.
- Gravel – Helps in drainage and supports the structural integrity.
Choosing the Perfect Location
Selecting the right spot to build your camp oven is critical. You want an area that is safe and practical.
Considerations for Location
- Flat and Dry Ground – Ensure that your spot is leveled and won’t flood.
- Wind Protection – Build your oven in an area sheltered from strong winds.
- Proximity to Cooking Area – Close enough to your main camp for convenience, but far enough to mitigate fire risks.
- Availability of Materials – Choose a location where you can easily gather all the necessary natural materials.
Step-by-Step Guide to Building Your Camp Oven
Now, let’s break down the process step by step, so you can follow along easily.
Step 1: Preparing the Base
Start by laying a solid foundation for your oven. A stable base ensures the structural integrity of your camp oven.
Instructions:
- Clear the Area – Remove any debris or vegetation.
- Dig a Shallow Pit – About 2 feet wide and 6 inches deep.
- Fill with Gravel – To aid in drainage and support.
- Add a Layer of Sand – This will further stabilize the base.
Step 2: Constructing the Frame
A sturdy frame is vital. You’ll be using wood for this purpose.
Instructions:
- Gather Strong, Straight Branches – Approximately 3 to 4 feet in length.
- Build a Square Structure – Using the branches to form the sides.
- Bind the Corners – Use natural twine or flexible green branches.
- Lay Flat Stones – Across the top to create a stable surface.
Step 3: Forming the Oven Walls
Using clay and stones, you’ll start to build up the oven’s walls.
Instructions:
- Mix Clay and Water – Until you get a dough-like consistency.
- Layer Stones – Around the frame base, leaving openings for air flow.
- Apply Clay – Over the stones, ensuring that each layer is well-bonded.
- Stack and Smooth – Continue layering until the walls reach about 2 feet in height.
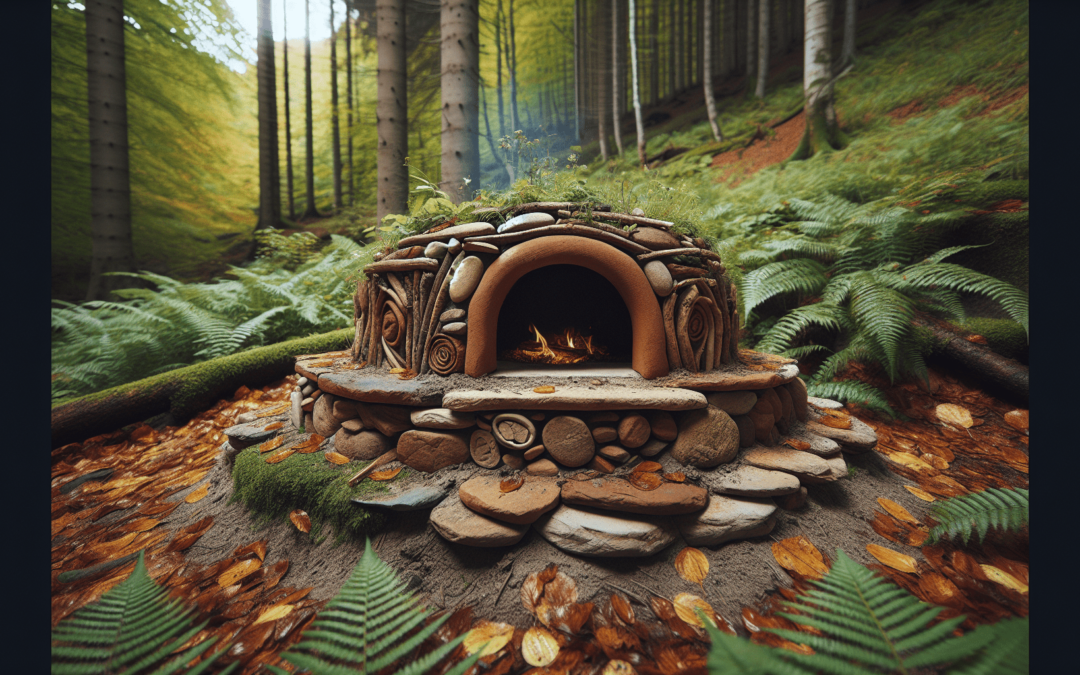
Step 4: Creating the Oven Dome
The dome is the most crucial part of your oven as it contains and radiates heat.
Instructions:
- Shape a Sand Mound – Inside the frame to define the dome shape.
- Layer Clay Over the Sand – Starting from the base and working up.
- Ensure Even Thickness – Aim for a wall thickness of about 4-6 inches.
- Insert Ventilation – Create a few small holes at the top for air circulation.
Step 5: Drying and Setting
Allow your oven time to set and harden.
Instructions:
- Dry Slowly – Allow the clay to air-dry for at least 48 hours.
- Fire Gradually – Begin with small fires to help cure the oven gradually.
- Monitor Cracks – Patch any cracks with additional clay.

Using Your Camp Oven
Your camp oven is now ready to use! Here are some tips for getting the most out of it.
Tips for Lighting the Fire
- Start Small – Begin with a small pile of leaves and twigs.
- Add Larger Wood – Once the smaller kindling is burning well.
- Maintain Consistent Heat – Keep the fire going for a steady temperature.
Cooking Techniques
- Baking – Use stones heated inside the oven for baking.
- Roasting – Place meats and vegetables on the flat stones inside.
- Grilling – Directly on hot stones or using a makeshift grill.
Recipes to Try
Now comes the fun part—using your oven for some delicious meals! Below are a few easy recipes to get you started.
Campfire Bread
Ingredients:
- 3 cups Flour
- 1 cup Water
- 1 tsp Salt
- 1 tsp Yeast
Instructions:
- Mix Ingredients – Combine flour, water, salt, and yeast to form a dough.
- Let it Rise – Allow the dough to rise for about an hour.
- Bake – Shape the dough into a loaf and bake inside the oven for 30-40 minutes.
Roasted Vegetables
Ingredients:
- Carrots
- Potatoes
- Onions
- Olive Oil
- Salt
- Pepper
Instructions:
- Chop Vegetables – Cut the vegetables into bite-sized pieces.
- Season – Toss with olive oil, salt, and pepper.
- Roast – Place on hot stones in the oven and roast for 25-30 minutes.
Campfire Pizza
Ingredients:
- Pizza Dough
- Tomato Sauce
- Cheese
- Toppings
Instructions:
- Spread Dough – Roll out the dough onto a flat stone.
- Add Sauce and Toppings – Spread the tomato sauce and add your desired toppings.
- Bake – Cook in the oven for 10-15 minutes until the cheese is melted and bubbly.
Troubleshooting Common Issues
Encountered some problems? Don’t worry; here are solutions to common issues you might face.
Uneven Cooking
Tip: Rotate your food halfway through the cooking process to ensure even heat distribution.
Cracking Walls
Tip: Frequent patching with extra clay will extend the life of your oven. Too rapid drying can cause cracks, so make sure to dry it gradually.
Insufficient Heat
Tip: Larger fires or adding more insulation can help your oven retain more heat.
Maintenance Tips
Maintaining your camp oven will ensure it lasts through multiple uses.
- Regular Cleaning – After every use, clean out ashes and debris.
- Patch Cracks – Regularly inspect for and patch any cracks with more clay.
- Reinforce Structure – Periodically reinforce the oven with an additional layer of clay.
Benefits of Building a Camp Oven
What are the advantages of going through all this effort? Quite a few, actually!
Sustainability
By using natural materials, you minimize your environmental footprint. Your camp oven won’t add to landfill, and it’s biodegradable if you decide to leave it behind.
Cost-Effective
You won’t need to invest in expensive camping ovens or fuel. Everything you need can be found in nature, free of charge.
Skill Development
Building a camp oven sharpens your survival skills and enhances your outdoor experiences. It’s a great way to connect with nature and improve your self-sufficiency.
Flavorful Meals
Using a camp oven allows for different cooking techniques that impart unique flavors to your food, unlike standard campfire cooking.
The Joy of Outdoor Cooking
There’s something inherently satisfying about cooking a meal in the great outdoors, using an oven you built with your own hands. It’s a fun project that adds a new dimension to your camping trips and can be enjoyed by everyone in your group.
Conclusion
Building a camp oven from natural materials is a rewarding project that enhances your outdoor experience. From gathering materials to enjoying a delicious meal, each step brings you closer to nature and boosts your self-reliance. So next time you’re out in the wilderness, take on the challenge, and enjoy the fruits of your labor.
Happy camping and cooking!