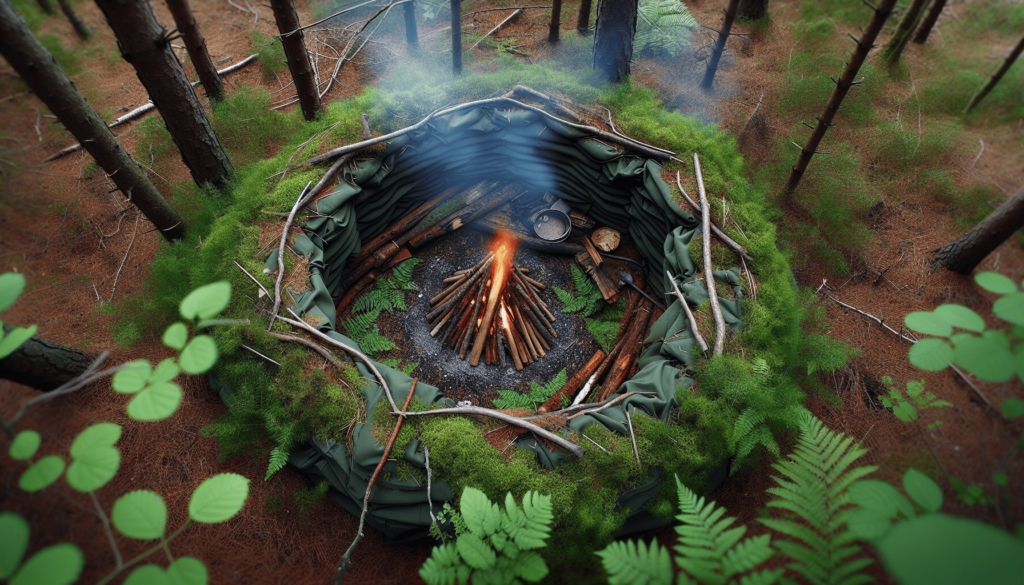
Building A Dakota Fire Pit for Stealth Camping is a handy skill that you’ll find both fascinating and incredibly useful. In this short guide, you’ll learn how to construct a fire pit that not only keeps you warm and cooks your meals efficiently, but also minimizes smoke and leaves little trace behind. Perfect for those who love to camp in seclusion or need to stay under the radar, a Dakota Fire Pit offers you warmth and functionality while preserving the natural beauty around you.
Building a Dakota Fire Pit for Stealth Camping
Have you ever heard of a Dakota Fire Pit? Maybe you’re planning a stealth camping trip and have been researching ways to maintain a low profile while keeping warm and cooking food. If so, you’re in the right place! Building a Dakota Fire Pit is an excellent skill to have in your stealth camping repertoire.
What Is a Dakota Fire Pit?
The Dakota Fire Pit is a simple but ingenious method of building a fire that offers several advantages. Named after the Dakota Native Americans who developed this technique, the Dakota Fire Pit consists of two small holes roughly 12-18 inches apart, one for the fire itself and the other serving as an air intake. This underground fire pit is designed to create a hotter, more efficient fire that produces minimal smoke — perfect for stealth camping!
Benefits of a Dakota Fire Pit
- Low Profile: The fire burns underground, making it harder to see from a distance.
- Efficient Burning: The design improves airflow, resulting in a hotter and more efficient fire which requires less wood.
- Minimal Smoke: Because it burns hotter, the fire emits less smoke.
- Wind Resistance: The underground nature makes the fire less susceptible to wind, ideal for unpredictable outdoor conditions.
Materials You Will Need
Before you head out into the wild, make sure you have the following items handy:
| Item | Purpose |
|---|---|
| Small Shovel/Trowel | For digging the fire pit and air intake holes |
| Fire Starter | Matches, lighter, or a fire-steel |
| Kindling | Small twigs or dry leaves to start the fire |
| Fuel Wood | Larger pieces of wood for sustained burning |
| Water/Soil | For extinguishing the fire when done |

Step-by-Step Guide to Building a Dakota Fire Pit
Creating a Dakota Fire Pit is straightforward, but following each step carefully will ensure you get the most out of it. Let’s break it down into easy-to-follow instructions.
Step 1: Choosing the Right Location
Finding the perfect spot is crucial for your Dakota Fire Pit. Here’s what to consider:
- Away from Obvious Paths: To maintain stealth, choose a site away from trails and popular camping spots.
- Safe Distance from Flammable Materials: Ensure your pit is at least 15 feet away from tents, vegetation, and other flammable items.
- Flat Ground: Select a flat area to ensure stability while digging and using the fire pit.
Step 2: Digging the Fire Chamber
Now that you have a location, it’s time to start digging.
- Outline the Fire Pit: Measure a circle about 12 inches in diameter. This will be your fire chamber.
- Start Digging: Use your shovel or trowel to dig a hole straight down about 12 to 18 inches deep. Ensure the walls of the hole are as vertical as possible.
Step 3: Creating the Air Intake Shaft
The next step is to dig a secondary hole to provide necessary ventilation.
- Outline the Air Shaft: About 12-18 inches away from the edge of your fire pit, outline another smaller circle, roughly 4-6 inches in diameter.
- Start Digging the Shaft: Dig down to the same depth as your fire chamber (12 to 18 inches).
- Create the Tunnel: Using your shovel or another narrow digging tool, connect the bottom of this shaft to the bottom of your fire chamber, creating a tunnel that slopes downward. Be careful to make it smooth to facilitate airflow.
Step 4: Setting Up and Starting the Fire
Time to get that fire going!
- Prepare Kindling and Fuel: Collect dry leaves, small twigs, and larger pieces of wood.
- Place Kindling: Put the kindling at the bottom of your fire chamber.
- Ignite the Fire: Use your fire starter to light the kindling. Ensure it catches well.
- Add Larger Wood: Gradually add larger pieces of wood as the fire grows stronger.
Step 5: Managing and Extinguishing the Fire
Once your Dakota Fire Pit is active, you need to manage it carefully.
- Maintain Airflow: Ensure the air intake shaft remains unobstructed.
- Feed the Fire Sparingly: Add wood sparingly to minimize smoke and maintain a low profile.
- Extinguish the Fire: When done, thoroughly drench the fire pit with water or soil to ensure all embers are out. Cover the pit completely to leave no trace.
Tips for Maximizing Efficiency and Stealth
Now that you know the basics, here are some additional tips to make your Dakota Fire Pit even more effective.
Use Natural Materials
Using natural materials for kindling and fuel is not only more efficient but also environmentally friendly. Collecting fallen branches and dry leaves ensures you’re using readily available materials, making your campfire more sustainable.
Wind Conditions
While the Dakota Fire Pit is more wind-resistant, pay attention to wind direction when building. Position the air intake shaft in a way that the prevailing wind can feed your fire without blowing across its top, minimizing smoke dispersal.
Keep It Small
A smaller fire will produce less smoke and consume less wood. The Dakota Fire Pit’s efficiency means you don’t need a large fire to keep warm or cook food.
Safety First
Always have water or soil at hand to extinguish the fire quickly if needed. Your safety should be a priority.

Common Mistakes to Avoid
Even seasoned campers make mistakes; here are some pitfalls to stay clear of:
- Overloading the Fire: Adding too much wood can produce more smoke and reduce efficiency.
- Poor Ventilation Setup: If the air intake isn’t properly connected to the fire chamber, the fire won’t burn effectively.
- Selecting a Bad Location: Avoid locations near dry vegetation or other flammable materials.
- Neglecting Cleanup: Always restore the site to its natural state to maintain stealth and respect nature.
Advantages Over Traditional Campfires
The Dakota Fire Pit offers several advantages over traditional campfires, making it a better option for stealth camping.
Efficiency
The design of the Dakota Fire Pit ensures more efficient burning with less fuel. The vertical nature of the pit allows for better heat concentration and less wasted energy.
Stealth
The underground design makes it ideal for stealth camping, as it’s much harder for anyone to spot from a distance. Minimal smoke and lack of visible flames help keep your camp unnoticed.
Wind Resistance
Traditional campfires can be blown out or spread by the wind, while a Dakota Fire Pit is naturally protected from wind interference.
Cooking Convenience
The concentrated heat is perfect for cooking, enabling you to prepare meals quickly and efficiently. You can even place pots directly over the pit with some stone support.
Frequently Asked Questions (FAQs)
What Types of Wood Are Best?
Hardwoods such as oak, maple, and hickory tend to burn longer and produce less smoke, making them ideal for a Dakota Fire Pit.
Can I Build One in Any Environment?
While Dakota Fire Pits are versatile, avoiding rocky or sandy soils can make digging easier and more practical.
How Long Does It Take to Build?
With some practice, a Dakota Fire Pit can be completed in about 30-45 minutes, depending on soil conditions and available tools.
Can I Use It in Winter?
Absolutely! The Dakota Fire Pit is especially beneficial in colder conditions, as it maintains heat more efficiently than an open fire.
How Do I Minimize the Chance of Detection?
Building the fire pit further from trails, using minimal fuel, and ensuring the fire remains small will all help minimize detection.
Practicing at Home
Practicing building a Dakota Fire Pit at home can be a great way to ensure you’re prepared. Familiarize yourself with the process so that when you’re out in the field, you can build it quickly and efficiently. This not only makes the experience more enjoyable but also increases your confidence and reduces setup time in the wilderness.
Steps to Practice
- Find a Suitable Spot in Your Backyard: An area where you can safely dig and build a fire.
- Gather Materials: Have your shovel, kindling, fuel wood, and fire starter ready.
- Mark Out the Locations: Use the outlines described earlier to practice placement.
- Dig and Connect: Follow the steps to dig and connect your fire chamber and air intake.
- Light and Manage the Fire: Start the fire and practice managing it efficiently.
Benefits of Practicing
- Familiarity with Tools: Using your digging tools more comfortably.
- Understanding Timings: Learning how long each step takes.
- Troubleshooting: Identifying and fixing common issues before you’re in an actual camping scenario.
Final Thoughts
Building a Dakota Fire Pit is a fantastic skill for any stealth camper. Not only does it keep you warm and allow for efficient cooking, but it also helps maintain a low profile, which is critical in certain camping scenarios. With this guide, you’re now well-equipped to build your own Dakota Fire Pit expertly.
So, the next time you head into the wild, you’ll have the knowledge and confidence to create a fire pit that meets all your stealth camping needs. Happy camping!

