Imagine yourself in the heart of the wilderness, surrounded by the serene beauty of nature, and you’re ready to prepare a meal with nothing but your hands and a few simple tools. “Carving Wooden Utensils for Bushcraft Cooking” is your ultimate guide to mastering the art of crafting your own cooking implements straight from the forest. You’ll discover the satisfaction that comes from creating practical, beautiful utensils that enhance your outdoor culinary adventures. Whether you’re a seasoned bushcraft enthusiast or a curious beginner, this guide will inspire you to bring a touch of personal craftsmanship to your wilderness kitchens. Have you ever sat around a campfire, cooking your meal and wondered how much more satisfying it would be if you carved your own wooden utensils? Carving wooden utensils for bushcraft cooking can be both a fulfilling and practical skill to learn. You don’t need to be an expert woodworker to start; just some basic tools, a bit of patience, and a willingness to learn will get you on the right track. Let’s dive into the world of bushcraft cooking and how to create your own wooden utensils from scratch!
The Charm of Wooden Utensils in Bushcraft Cooking
Why Wooden Utensils?
You might wonder why you should carve wooden utensils when you can simply bring metal or plastic ones. Wooden utensils have a unique charm and offer several benefits. Firstly, wood is naturally slip-resistant and doesn’t get as hot as metal, making it comfortable to handle while cooking. Secondly, the act of carving provides you with a sense of accomplishment and a deeper connection to the nature around you.
Health Benefits
Using wooden utensils is also more eco-friendly and safer for your health. They are free from chemicals that you might find in plastic utensils and don’t react with acidic foods like some metals can.
Essential Tools for Wood Carving
Basic Tools You’ll Need
Before you start carving, gather some essential tools:
| Tool | Description |
|---|---|
| Carving Knife | A primary tool for shaping and detailing your utensils. Look for a knife with a comfortable handle and a sharp blade. |
| Hatchet or Axe | Useful for splitting larger pieces of wood into manageable sizes. |
| Gouge | A chisel with a curved blade, perfect for carving the bowl of a spoon. |
| Mallet | Helps you to apply more force with your gouge. |
| Saw | Handy for cutting your initial piece of wood to size. |
| Sandpaper | Used to smooth the surface of your finished piece. |
Optional Tools
Although not necessary, the following tools can make your carving experience more efficient and enjoyable:
| Tool | Description |
|---|---|
| Hook Knife | Specialized carving knife ideal for hollowing out spoons and other curved surfaces. |
| Sharpening Stone | Essential for keeping your tools sharp and effective. |
| Caliper | Useful for measuring to ensure symmetrical designs. |

Selecting the Right Wood
Best Types of Wood for Carving
Not all wood is suitable for carving; you’ll want to choose wood that is soft, easy to work with, and free of knots.
| Type of Wood | Characteristics |
|---|---|
| Basswood | Soft, easy to carve, and has a fine grain. Excellent for beginners. |
| Birch | Slightly harder than basswood but very smooth and workable. |
| Cherry | Offers a beautiful reddish color and is more durable. Requires a bit more effort to carve. |
| Maple | Tougher to carve but yields sturdy and attractive utensils. |
Preparing Your Wood
Once you’ve selected your wood, the next step is to prepare it. Start by cutting it into manageable pieces. Ensure the wood is green (freshly cut) as it is easier to carve than dried wood. If you only have access to dried wood, soaking it in water for a few hours can make it easier to handle.
Getting Started with Basic Carving Techniques
Safety First
Before you start carving, prioritize safety. Ensure your tools are sharp and in good condition—dull tools can slip and cause serious injuries. Always carve away from your body and keep a firm grip on both your tool and wood.
Basic Cuts
Understanding a few basic cuts will help you start your carving journey:
Push Cut
The push cut is the most basic and commonly used technique. Hold the knife at an angle and push it away from you to carve away wood. This cut is useful for general shaping.
Pull Cut
This cut involves pulling the knife toward you. It’s often used for finer details and more control. Hold the knife with both hands for safety and precision.
Stop Cut
A stop cut involves making a perpendicular cut to create a boundary, then removing the wood up to this cut. It helps in defining edges and creating distinct sections.
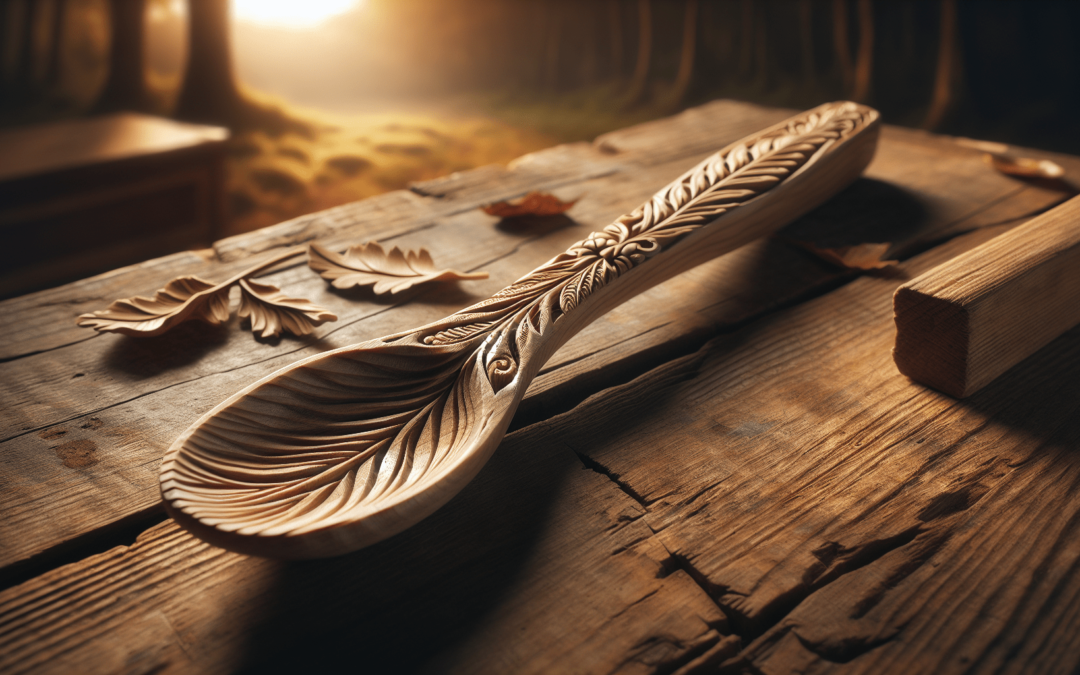
Starting Your First Project
For your first project, consider starting with a simple object, like a spoon. Begin by sketching your design on the piece of wood. Use your saw to cut out the rough shape, and then proceed with your carving knife to refine the details. The gouge or hook knife will be useful for hollowing out the bowl of the spoon.

Advanced Techniques and Projects
Carving a Wooden Fork
After mastering a spoon, try your hand at carving a wooden fork. The process is similar but involves additional steps to create the tines.
Steps to Carve a Wooden Fork:
- Design: Sketch your fork outline on a flat piece of wood.
- Cutting: Use a saw to cut out the basic shape.
- Shaping the Handle: Use push cuts to smooth and round the handle.
- Creating Tines: Draw the tines on the wider end of your fork. Use stop cuts to mark the boundaries, then carefully carve in between to create the tines.
- Finishing: Sand the entire utensil to remove rough edges and splinters.
Creating a Wooden Serving Spoon
If you’re feeling more adventurous, a larger serving spoon can be a fun project. The steps are similar to making a regular spoon but on a larger scale.
Finishing Touches
Sanding
Sanding is crucial to give your carved utensils a smooth and finished look. Begin with coarse-grit sandpaper to remove major scratches, then move to finer grit sandpaper for a smooth finish.
Oiling
Oiling your utensils helps to protect the wood, bring out its natural colors, and make it more durable. Food-safe oils like mineral oil, walnut oil, or linseed oil are perfect for this purpose. Apply a generous coat of oil using a cloth, let it soak for a few hours, then wipe off any excess.
Maintenance
To keep your wooden utensils in great shape, oil them periodically. Avoid soaking them in water and always hand-wash instead of using a dishwasher. Dry them thoroughly after each wash.
Troubleshooting Common Issues
Wood Splitting
If your wood starts to split while carving, it may be too dry. Applying a bit of water can help soften it and reduce splits. Also, aim to carve with the grain of the wood rather than against it.
Blunt Tools
Blunt tools can make carving more challenging and dangerous. Regularly sharpen your tools using a sharpening stone or honing kit.
Uneven Surfaces
If your utensil surface is uneven, use sandpaper to smooth it out. Practice will make you better at ensuring even cuts.
The Joy of Personalized Utensils
There’s something incredibly rewarding about using utensils you’ve carved yourself. It adds a layer of personalization and uniqueness to your bushcraft cooking. Plus, they make for fantastic gifts that carry a personal touch and a story.
Sharing Your Knowledge
Once you’ve honed your skills, why not share your knowledge with others? Teaching friends or family how to carve wooden utensils can be a fun group activity. You could even start a local workshop or join a community of fellow woodworkers to exchange tips and ideas.
Conclusion
Carving wooden utensils for bushcraft cooking is a journey filled with creativity, patience, and the satisfaction of making something with your hands. Not only will you have practical tools for your camping adventures, but you’ll also have a deeper appreciation for the craft and the materials you use. So pick up those tools, find a comfortable spot by the campfire, and start your carving adventure today! You’ll be amazed at how such a simple activity can be so enriching and enjoyable.