Welcome to “Crafting A Bushcraft Spoon from Wood”! In this article, you’ll discover the art of transforming a simple piece of wood into a functional and beautiful spoon using bushcraft techniques. You’ll learn about the essential tools and materials needed, step-by-step instructions for safely carving your spoon, and tips for adding personal touches to make it uniquely yours. By the end, you’ll have a handcrafted spoon and a newfound appreciation for the ancient craft of woodworking. Have you ever found yourself amidst the serene beauty of nature and thought that crafting something useful from your surroundings would be a great experience? If so, you’re in the right place! Today, we’re talking about one of the quintessential bushcraft activities: crafting a bushcraft spoon from wood. This isn’t just an informative guide; it’s an invitation to reconnect with nature, learn a valuable skill, and most importantly, have fun while doing it. Let’s jump in!
Understanding Bushcraft
What is Bushcraft?
Bushcraft is essentially wilderness survival skills. It’s the art of using the natural resources around you to not only survive but thrive in the wilderness. These skills range from building shelters to cooking food and crafting tools, like the humble wooden spoon we’ll be making today.
Why Craft a Spoon?
The spoon is not just a tool; it’s a symbol of bushcraft creativity and practicality. Crafting your own spoon allows you to immerse yourself in the process, honing your skills and truly appreciating the materials and effort that go into making something as simple as a utensil.
Choosing the Right Wood
Selecting Wood Type
The first step in crafting a bushcraft spoon is choosing the right type of wood. Different types of wood have different properties, and some are better suited for spoon-making than others.
| Wood Type | Properties | Suitability for Spoon |
|---|---|---|
| Birch | Soft, easy to carve, grain is consistent | Excellent |
| Maple | Harder, durable, fine grain | Good |
| Cherry | Hard, beautiful color, smooth texture | Great |
| Willow | Soft, can be fibrous, easy to carve | Fair |
Factors to Consider
- Grain: Tight and straight grain is easier to carve and less likely to split.
- Moisture: Greenwood (freshly cut) is easier to carve but may shrink as it dries.
- Source: Ensure the wood is sustainably sourced, whether you’re harvesting it yourself or acquiring it from a supplier.

Tools You’ll Need
Basic Carving Tools
To start your spoon-crafting journey, you’ll need some basic tools. Here’s a quick overview:
| Tool | Description |
|---|---|
| Carving Knife | Used for general shaping and detail work. |
| Hook Knife | Ideal for hollowing out the bowl of the spoon. |
| Axe | Useful for roughing out the spoon’s shape from a larger block of wood. |
| Sandpaper | For smoothing the spoon after carving. |
| Gloves | To protect your hands while carving. |
Optional But Helpful Tools
| Tool | Description |
|---|---|
| Mallet | Used in combination with chisels for precise cuts. |
| Chisels | Different sizes for more detailed work. |
| Sloyd Knife | Excellent for detailed carving and intricate work. |
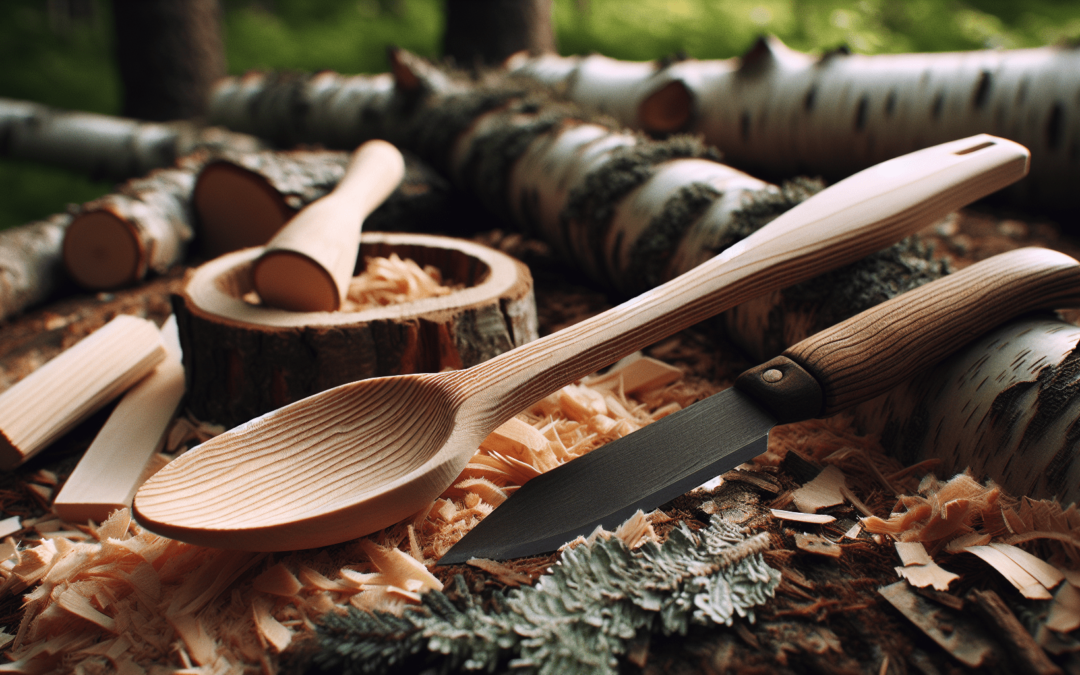
The Carving Process
Roughing Out the Shape
- Split the Wood: Use your axe to split a piece of wood that’s roughly the size of your desired spoon.
- Sketch the Outline: Draw the rough outline of your spoon directly on the wood using a pencil or chalk.
- Axe Work: Carefully use the axe to chop away excess wood from outside your outline.
Carving the Bowl
- Use a Hook Knife: Start carving out the bowl of the spoon. Ensure to work slowly and carefully.
- Check Thickness: Regularly check the thickness of the bowl to make sure it’s even and not too thin.
Shaping the Handle
- Carving Knife: Use the carving knife to define the shape of the handle. Focus on making it comfortable to hold.
- Refine and Smooth: Gradually refine the shape, ensuring to smooth out any rough edges.

Safety Tips
- Sharp Tools: Always ensure your tools are sharp. Dull tools require more force and are more likely to slip.
- Work Away: Carve away from your body to minimize the risk of injury.
- Use Gloves: Wearing carving gloves can protect your hands from cuts.
- Take Breaks: Don’t rush the process. Taking regular breaks can help you stay focused and reduce the chances of accidents.
Final Touches
Sanding
- Coarse to Fine: Start with coarse sandpaper (around 80 grit) and work your way to finer grits (up to 320 grit) for a smooth finish.
- Even Texture: Ensure the entire spoon is evenly sanded and there are no rough spots.
Finishing
- Oil Your Spoon: Use a food-safe oil like mineral or walnut oil. Apply a generous amount and let it soak in.
- Polish: Once the oil has soaked in, use a soft cloth to polish the spoon for a nice sheen.
Troubleshooting and Tips
Common Issues
| Issue | Solution |
|---|---|
| Wood Splitting | Ensure you’re carving with the grain, not against it. |
| Uneven Bowl | Regularly check thickness and use even strokes. |
| Blistered Hands | Take breaks and wear gloves to protect your hands. |
Useful Tips
- Stay Relaxed: Carving is both a physical and mental activity. Stay relaxed and enjoy the process.
- Learn From Mistakes: Every mistake is a learning opportunity. If your first spoon isn’t perfect, that’s okay. Keep practising!
- Experiment with Designs: Once you’re comfortable, start experimenting with different designs and wood types.
Why Bushcraft Spoons are Special
Connection to Nature
Crafting a bushcraft spoon connects you deeply with nature. Every time you use it, you’ll be reminded of the time and effort put into creating something with your own hands.
Sustainability
Making your own tools is a testament to sustainable living. It reduces dependency on mass-produced items and fosters a respect for natural resources.
Skill Development
Carving a spoon from wood sharpens your bushcraft skills significantly. It teaches patience, precision, and gives you a quick mental and physical workout.
The Joy of Creation
There’s immense joy in creating something functional and beautiful from scratch. Each spoon you craft will have its own character and imperfections, making it unique and personal.
Encouragement to Continue
Don’t stop at spoons! Once you’ve got the hang of basic carving, you can branch out to other projects like bowls, forks, and more intricate utensils. Each item you carve will be a testament to your growing skills and a cherished piece of your bushcraft journey.
Conclusion
Crafting a bushcraft spoon from wood is more than just a task—it’s an adventure. It’s an opportunity to connect with nature, develop new skills, and create something truly unique. We hope this guide has kindled your interest and inspired you to pick up some tools and try your hand at spoon carving. Happy carving, and may your journey through the woods be filled with wonderful discoveries!