In “How to Build an Underground Still for Water Collection,” you’ll discover a brilliant and eco-friendly method to gather water right from the earth. This guide takes you step-by-step through the process of creating an underground still, an innovative solution especially helpful in survival scenarios or areas with limited water supplies. By following these simple instructions, you can ensure a reliable source of hydration, tapping into an often-overlooked resource beneath your feet. Dive in and learn how to harness this straightforward yet effective technique for meeting your water needs! Have you ever found yourself wondering how to create a sustainable water source in the middle of nowhere? Maybe you’re an avid camper, a survivalist, or you simply want to be prepared for any situation. If so, learning how to build an underground still for water collection can be invaluable knowledge. In this guide, we’ll take you through the process step-by-step in a friendly, easy-to-understand manner. By the end of this article, you’ll have all the tools you need to build your very own underground still.
What is an Underground Still?
Before diving into the how, let’s talk about the what. An underground still, also known as a solar still, is a method for distilling water using the heat of the sun. This technique involves using the sun’s energy to evaporate water, which then condenses into a clean, drinkable form. It’s a simple yet effective way to collect water, especially in survival situations.
Benefits of an Underground Still
Understanding the advantages can motivate you to build one. Here’s why it’s beneficial:
- Simplicity: It’s easy to build with common materials.
- Efficiency: Provides a reliable water source in arid conditions.
- Purity: Produces pure, distilled water.
- Versatility: Can be used almost anywhere the sun shines.
Materials You’ll Need
Let’s gather the essentials. Preparing these materials beforehand will make the building process smoother.
| Material | Description |
|---|---|
| Plastic Sheet | A clear or translucent plastic sheet to trap solar energy. |
| Container/Cup | To collect the condensed water. |
| Shovel | For digging the hole. |
| Tubing (optional) | To channel water directly into another container. |
| Small Rocks | To create a slope for the water to flow into the container. |
Choosing the Right Plastic Sheet
A key component is the plastic sheet. Choose a durable, clear plastic sheet that is large enough to cover your digging area completely.
Alternative Materials
While the materials listed above are ideal, you can substitute some items if necessary. For example, if you don’t have small rocks, you can use other objects to create a similar sloping effect.

Ideal Location for Your Still
Selecting the perfect spot is crucial. You’ll want an area exposed to ample sunlight throughout the day for maximum efficiency.
Factors to Consider
- Sun Exposure: Full sun for at least 6-8 hours.
- Soil Type: Sandy or loose soil is easier to dig.
- Proximity to Vegetation: Plants can contribute moisture but also shade.
- Safety: Choose a spot that is safe from animals and human foot traffic.
Step-by-Step Guide to Building Your Underground Still
Now that you have the materials and location sorted, let’s break down the building process.
Step 1: Digging the Hole
- Outline the Area: Start by marking a circular or square area, roughly 3-4 feet in diameter.
- Start Digging: Use your shovel to dig a hole about 2-3 feet deep.
- Create a Slope: On one side of the hole, create a gentle slope for water to flow into the collecting container.
Step 2: Placing the Container
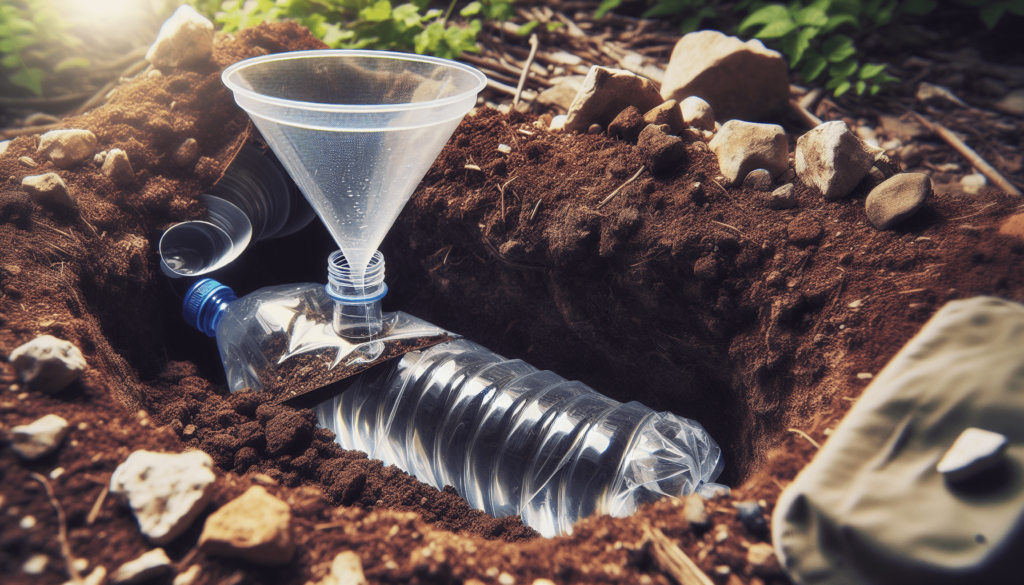
- Center the Container: Position your container or cup at the bottom center of the hole.
- Stabilize the Container: Make sure it’s stable so it doesn’t tip over when water starts collecting.
Step 3: Creating the Still Cover
- Position the Plastic Sheet: Place the plastic sheet over the hole, ensuring it extends beyond the edges.
- Secure the Edges: Use rocks, soil, or other heavy objects to secure the edges of the plastic sheet, preventing it from blowing away.
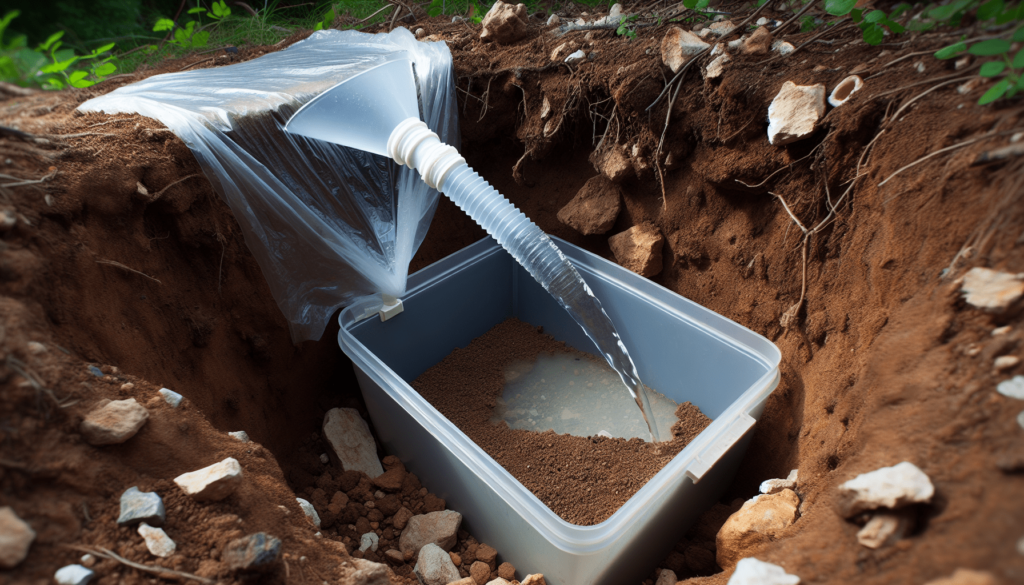
- Create a Dip: Gently push down the center of the plastic sheet directly above the container, creating a shallow cone or dip. This will funnel the condensed water into your container.
Step 4: Adding the Tubing (Optional)
If you have tubing, you can insert one end into the container. The other end should extend out of the hole, allowing you to collect water without disturbing the overall setup.
Step 5: Wait and Collect
- Patience is Key: Allow the still to sit for several hours, ideally during peak sunlight hours.
- Check the Container: After several hours, check the container. You should see a collection of distilled water.

Tips for Maximum Efficiency
Even simple setups benefit from optimization. Here are some pro tips:
Maximize Sun Exposure
Ensure your plastic sheet is tight and clear of any debris. This maximizes the sun’s heating effect.
Multiple Stills
If in dire need of water, consider building multiple stills. This method increases your water collection rate.
Soil Moisture
Adding moisture-rich items like green leaves inside the hole provides more water vapor to condense.
Troubleshooting Common Issues
Encountering issues? Don’t worry. Here’s how to tackle them:
Low Water Collection
- Check Sunlight: Ensure the still is getting enough sunlight.
- Plastic Sheet: Ensure it’s tight and correctly positioned.
- Condensation: Ensure the center dip is directing water properly into the container.
Contaminated Water
- Check Container: Ensure it’s clean before use.
- Debris: Make sure no debris has fallen into your container.
Safety Considerations
When building and using your still, safety is critical.
Avoid Contaminants
Make sure your collecting container is clean and covers the container securely. This prevents dirt, leaves, or other contaminants from getting into your water.
Hydration and Signs of Dehydration
Remember, while waiting for your still to produce water, keep an eye on your hydration levels. Know the signs of dehydration and take preventive measures.
Practical Applications
Knowing how to build an underground still isn’t just for survivalists. This skill has numerous practical applications.
Camping
If you’re on a long camping trip and run low on water, an underground still can be a lifesaver.
Emergency Situations
In the event of natural disasters or emergency situations, having this knowledge can provide a reliable source of clean drinking water.
Gardening
Believe it or not, the concept can be used to water plants, especially in arid environments where resources are scarce.
Advanced Tips and Tricks
Once you master the basic underground still, you can sprinkle in some advanced techniques.
Dual-Layered Still
You can create a dual-layered still by digging two holes connected by a small tunnel. Place water-rich materials in the first hole and your collection container in the second. This method can increase water yield.
Reflective Surfaces
Placing reflective materials like aluminum foil around the edges of your still can concentrate sunlight, boosting the efficiency of your setup.
Conclusion
We’ve covered a lot, from the basic understanding of what an underground still is to advanced techniques for optimizing your water collection process. Building an underground still for water collection may seem like a small skill, but it’s a powerful tool in situations where clean water is scarce.
Whether you’re prepping for an adventure, stocking up on survival skills, or simply curious about alternative water collection methods, this practical knowledge can make all the difference. Remember, the key to success is practice. So, roll up your sleeves, gather your materials, and build your own underground still. Your future self will thank you!
Happy building, and stay hydrated!

