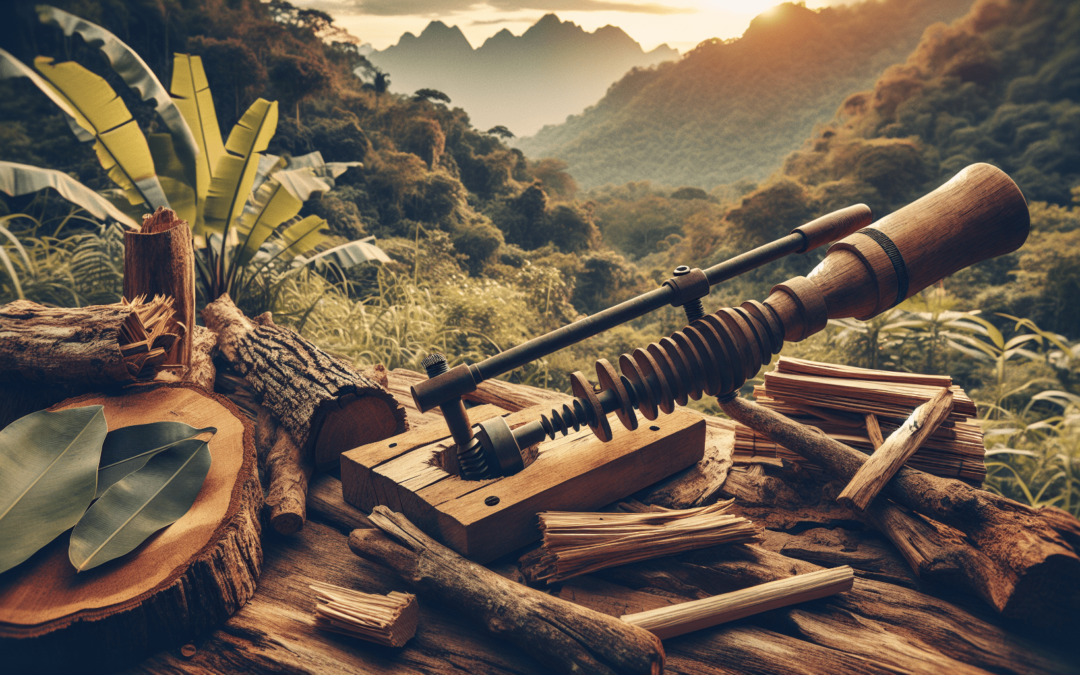
In the fascinating world of bushcraft, learning to create a hand drill for friction fire can be an invaluable skill. This article will guide you through the simple yet ancient technique of making a hand drill from scratch, using nature’s resources. You’ll explore each step, from selecting the right materials to mastering the friction technique, ensuring you can spark a fire in no time. By the end of this guide, you’ll not only gain confidence in your survival skills but also deepen your connection with nature. So roll up your sleeves, let’s discover the timeless art of fire-making together! Have you ever wondered how our ancestors survived in the wild? One of the most critical skills they mastered was making fire. While today we might rely on lighters and matches, there’s something incredibly rewarding about knowing how to create fire using nothing but natural materials. In this article, you will learn everything you need to know about making a hand drill for friction fire—one of the oldest and simplest methods known to humanity.

Understanding the Basics of Friction Fire
Before you dive into the step-by-step process, it’s crucial to grasp the fundamentals of how a friction fire works. The principle is straightforward: by rubbing two pieces of wood together, you generate enough heat to ignite a small pile of tinder. Though it sounds simple, the technique and materials used are essential for success.
The Science Behind Friction Fire
When you rub two objects together, friction generates heat. To create fire, you need to produce and concentrate enough heat to ignite dry tinder. The hand drill method uses the heat generated by drilling a wooden spindle into a wooden fireboard. The resulting friction produces hot, fine wood dust that accumulates and eventually turns into a glowing ember. This ember can then be transferred to a nest of tinder and blown into a flame.
Materials You Need
To make a hand drill, you’ll need specific materials that are conducive to producing friction and heat. Here’s a handy table to reference:
| Item | Description |
|---|---|
| Spindle | A straight, dry, and softwood stick roughly 2 feet long and 1/2 inch in diameter. |
| Fireboard | A flat, dry piece of softwood with at least one smooth, flat surface. |
| Tinder | Highly flammable material such as dry grass, leaves, or bark. |
Ideal Woods for Hand Drill
The type of wood you use for the spindle and fireboard significantly affects your success rate. Woods with similar hardness are usually the best choice. Here are a few ideal woods you can consider:
| Wood Type | Characteristics |
|---|---|
| Willow | Soft and easy to carve, generates heat quickly. |
| Cedar | Emits a pleasant aroma, good heat generation. |
| Basswood | Soft, consistent wood grain, easily combustible. |
| Mullein | Soft and very lightweight, great for beginners. |
Preparing Your Tools and Materials
Once you’ve gathered your materials, it’s time to prepare them. Having the right tools prepared before you start the drilling process contributes significantly to your success.
Crafting the Spindle
Your spindle should be straight and free of knots. Here’s how you can craft it:
- Select a suitable stick: Make sure it’s roughly 24 inches long and about 1/2 inch in diameter.
- Shape the ends: Use a knife to round off one end of the spindle to a dull point. The other end should be rounded but flatter.
- Smooth the spindle: Remove any bark and sand the spindle until it’s smooth to reduce friction loss.
Creating the Fireboard
The fireboard is equally important and needs to be well-prepared:
- Select your wood: Find a piece of softwood around 12 inches long and at least 2 inches wide.
- Cut a notch: About 1/2 inch from the edge, cut a small V-shaped notch to allow the wood dust to collect.
- Create an impression: Directly next to the notch, use your spindle to create a small indentation. This is where you will place the spindle to start drilling.
Preparing the Tinder
Tinder is what transforms your ember into an actual flame. Some good choices include:
- Dry grass: Easy to find and highly flammable.
- Leaves: Choose older, drier leaves.
- Bark fibers: Particularly from trees like Cedar or Juniper.
To prepare your tinder:
- Collect sufficient material: You need more than you think to ensure success.
- Form a bird’s nest: Create a structure similar to a bird’s nest where your ember will be placed.
The Drilling Process
Now comes the most crucial part: the drilling. Here’s a step-by-step guide to help you achieve success.
Body Positioning
Proper body positioning can make or break your effort. Here’s how to set yourself up:
- Kneel down: Place one knee on the ground and the other bent with your foot flat. This foot will anchor the fireboard.
- Hold the spindle: Place the spindle in the indentation you made in the fireboard.
- Balanced effort: Your hands should hold the spindle at the top, all while maintaining enough pressure to generate friction.
Starting the Fire
- Initial spins: Using both hands, start spinning the spindle rapidly while applying downward pressure. Begin with lighter, faster spins to get things going.
- Increase pressure and speed: Once you see smoke, increase the pressure and speed of your spins to produce more heat.
- Collecting the ember: As the wood dust gathers at the base, it will eventually form an ember.
Transferring the Ember to Tinder
Once you’ve got a glowing ember, the next step is careful and crucial:
- Gently tap the ember: Use your hands or a small leaf to gently transfer the ember from the fireboard to your tinder nest.
- Encourage the flame: Blow steadily but gently on the ember, feeding it oxygen until it grows into a flame.
- Nurture the flame: Gradually add larger pieces of tinder until you have a self-sustaining fire.
Troubleshooting Common Problems
As with any ancient technique, making a friction fire with a hand drill can be challenging. Here are some common problems you might encounter and how to address them.
Issue 1: No Smoke
Solution: Ensure you’re using dry wood. Wet wood will never produce enough heat.
Issue 2: No Ember
Solution: Increase your speed and pressure. You might need to try different wood types if it’s not working.
Issue 3: Ember Doesn’t Ignite Tinder
Solution: Ensure your tinder is dry and finely shredded. Wet or coarse tinder won’t ignite easily.

Mastering the Ancient Skill
Making a hand drill for friction fire requires both patience and practice. The satisfaction of creating fire using such a primitive method is unmatched and can be a vital survival skill.
Practice Makes Perfect
Don’t be discouraged if you don’t succeed immediately. It takes time to master this skill. Allocate time to practice regularly and experiment with different wood types.
Community and Resources
Join online forums or local groups focused on primitive skills. Not only will you get tips and tricks from experienced practitioners, but you’ll also find a community that appreciates this ancient art.
Conclusion
Making a hand drill for friction fire is a skill worth learning for anyone interested in survival techniques, history, or just the raw beauty of creating something from nothing. From understanding the science behind it, to gathering and preparing materials, to the physical act of drilling and creating that first ember, every step is a journey back in time. With practice and patience, you will find yourself able to create fire, just as our ancestors did, and there is something deeply satisfying and empowering about that. Happy drilling!