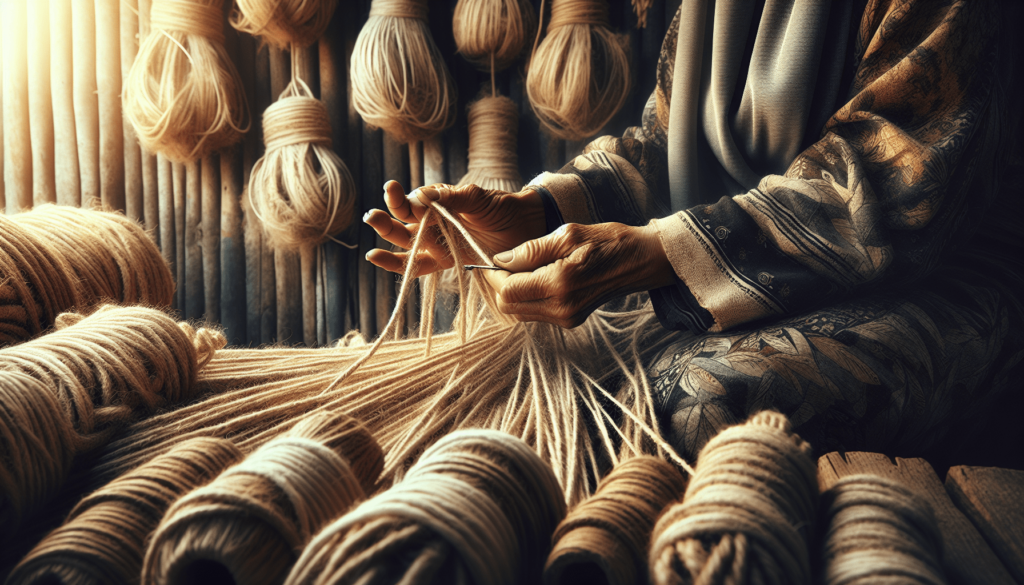
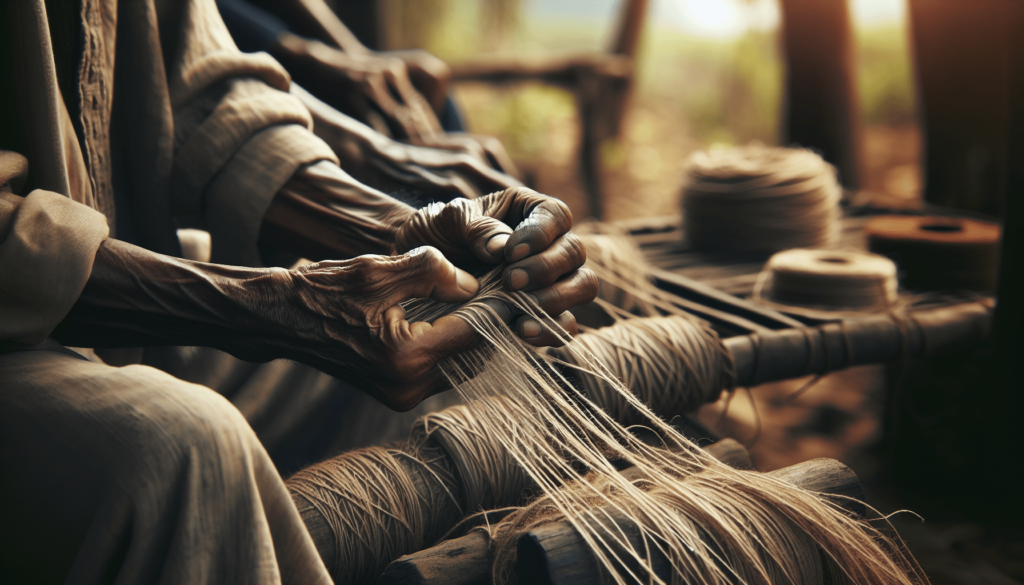
Making cordage from plant fibers is a time-honored skill that connects you with ancient traditions and nature’s offerings. You’ll explore various plants whose fibers can be transformed into strong, durable cordage, and learn techniques that have been passed down through generations. With patience and practice, you can turn simple natural materials into useful, handmade rope perfect for myriad tasks, whether you’re out in the wilderness or working on a DIY project at home. This article guides you through the process step-by-step, making it an enjoyable and fulfilling experience for anyone eager to develop this practical, hands-on skill.
Making Cordage From Plant Fibers
Have You Ever Wondered How to Make Cordage From Plant Fibers?
Making cordage from plant fibers may sound like a lost art, but it’s actually a skill that can serve numerous practical purposes and offer a deep connection to nature. Whether you’re a survivalist, a crafts enthusiast, or someone curious about ancient techniques, learning how to make cordage is both rewarding and useful.
In this guide, we’ll walk you through the fundamentals of making cordage from plant fibers, touching on the best materials to use, the steps involved, and tips to get you started in this fascinating craft.
What is Cordage?
Cordage refers to any kind of rope or twine made by twisting or braiding fibers together. It’s an essential tool that has been used for thousands of years in various cultures around the world. From binding objects together to creating traps and shelters, cordage is surprisingly multifunctional. The process of making cordage can be as simple or as complex as you desire, depending on the materials and techniques used.

Why Make Cordage From Plant Fibers?
You might be asking, “Why should I make my own cordage when I can just buy rope at the store?” Here are a few compelling reasons:
- Self-Reliance: Knowing how to craft your own cordage can be a lifesaver in survival situations.
- Eco-Friendly: Using natural plant fibers is a sustainable way to create cordage without relying on synthetic materials.
- Connection to Nature: This practice allows you to intimately connect with your environment, using resources available around you.
- Skills Development: It hones your manual dexterity, problem-solving skills, and attention to detail.
Choosing Your Plant Fibers
The first step in making cordage is selecting the right plant fibers. Different plants offer various properties that make them suitable for cordage. Here are some common and effective choices:
Types of Plant Fibers
| Plant | Strength | Flexibility | Availability | Best Use |
|---|---|---|---|---|
| Hemp | High | Medium | Moderate | Heavy-duty tasks |
| Flax | High | High | Moderate | Fine twine |
| Sisal | Medium | Low | High | Rough rope |
| Jute | Medium | High | High | General utility |
| Yucca | High | Medium | Regional | Traditional & survival cordage |
Each of these plants has its own merits, and the choice largely depends on what you have access to and what you plan to use the cordage for.
Harvesting Plant Fibers
Once you’ve selected your plant:
- Harvest Carefully: Harvest the plant when it’s mature enough to provide strong and long fibers but not so old that the fibers are brittle.
- Strip the Fibers: Generally, you’ll need to strip the plant to get to its fibrous parts. For example, with Yucca, you would strip away the outer leaves to get at the inner, stronger fibers.

Preparing the Fibers
Before you can twist and braid your fibers into cordage, you need to properly prepare them. This ensures that your cordage will be strong and durable.
Retting
Retting is a process where plant fibers are softened by soaking them in water. This makes it easier to separate the usable fibers from the rest of the plant material.
Steps for Retting
- Soak in Water: Submerge the stripped plant fibers in water for about one to two weeks.
- Check Regularly: Periodically check the fibers for softness. They should come apart easily without breaking.
- Drying: Once retting is finished, spread the fibers out to dry in a well-ventilated area.
Combing
After retting, the next step is combing the fibers to remove any remaining plant material and to align the fibers.
Steps for Combing
- Use a Fine-toothed Comb: A dog grooming comb works well for this purpose.
- Align the Fibers: Comb through the fibers to align them straight.
- Remove Debris: Ensure all remaining plant debris is removed, leaving only clean fibers.
Techniques for Making Cordage
With your fibers prepared, it’s time to start making cordage. There are two primary techniques: twisting and braiding.
Twisting (Reverse Wrap Technique)
Twisting is one of the most basic techniques for making cordage and is ideal for beginners.
Steps for Twisting
- Divide the Fibers: Split your fibers into two equal bundles.
- Twist Each Bundle: Twist each bundle of fibers in the same direction (e.g., clockwise).
- Wrap Around Each Other: Once both bundles are twisted tightly, wrap them around each other in the opposite direction (e.g., counter-clockwise). This ensures a strong bond.
- Continue Twisting: Repeat the process, adding new fibers as needed until you reach your desired length.
Braiding
Braiding offers a stronger and more aesthetically pleasing cordage.
Steps for Braiding
- Divide into Three Bundles: Split your fibers into three equal bundles.
- Cross the Outside Over: Take the left bundle and cross it over the center bundle.
- Repeat with the Right: Take the right bundle and cross it over the new center bundle.
- Continue Braiding: Repeat this pattern, adding new fibers as necessary.
Types of Cordage You Can Make
The possibilities for cordage are vast, and you can customize your project depending on your needs.
Single-ply Cordage
Single-ply cordage involves a single layer of fibers twisted together. This is suitable for lightweight tasks like securing small objects or creating fishing lines.
Double-ply Cordage
Double-ply cordage involves twisting two single-ply cords together, offering additional strength and durability. This is ideal for more demanding tasks such as lashing poles together for shelters.
Multi-ply Cordage
For even greater strength, you can create multi-ply cordage by twisting several double-ply cords together. This type of cordage is suitable for heavy-duty tasks and can replace commercial rope in many applications.
Troubleshooting Common Issues
Making cordage can sometimes present challenges. Here are some common issues and their solutions:
Weak Cordage
Issue: Your cordage breaks easily. Solution: Ensure your fibers are sufficiently retted and that you are twisting tightly enough.
Uneven Cordage
Issue: Your cordage has thick and thin spots. Solution: Keep the tension consistent while twisting or braiding and add new fibers evenly.
Fraying Ends
Issue: The ends of your cordage fray and unravel. Solution: Secure the ends by tying a knot or using a bit of glue to hold the fibers together.
Advanced Techniques and Tips
Once you have the basics down, you can start experimenting with more advanced techniques.
Adding Colors
Consider dying your fibers with natural dyes before starting the cordage-making process. This can add a unique and personal touch to your projects.
Combining Materials
You can also mix different types of fibers for unique textures and strengths. For example, combining flexible jute with strong hemp can result in a cordage that has both durability and ease of use.
Decorative Cordage
Experiment with different braiding patterns and colors to create decorative cordage for jewelry, belts, or art projects.
Practical Applications for Your Cordage
Understanding how to make cordage is great, but knowing what to do with it is even better. Here are some practical applications:
Camping and Survival
- Shelter Building: Use your cordage to tie together branches and create a sturdy frame for a shelter.
- Fishing Line: Thin, single-ply cordage can be used to create fishing lines for catching small fish.
Home and Garden
- Plant Ties: Use your natural cordage to tie plants to stakes in your garden.
- Decoration: Create rustic home décor items like baskets or ornamental knots.
Crafts and Hobbies
- Jewelry: Braided cordage can be turned into bracelets, necklaces, and other accessories.
- Macramé: Use your cordage in macramé projects to craft beautiful and intricate designs.
Balancing Strength and Flexibility
One of the key aspects of making strong cordage is finding the right balance between strength and flexibility.
Testing Your Cordage
To ensure your cordage meets your needs, conduct some simple tests:
- Strength Test: Apply force to see if your cordage can handle weight without snapping.
- Flexibility Test: Bend and twist your cordage to check for brittleness or ease of flexion.
Adjusting Techniques
If your cordage doesn’t meet your expectations, tweak your techniques:
- Twist Tighter: For stronger cordage, twist the fibers tighter.
- Use More Fibers: For increased durability, add more fibers to your bundles.
- Switch Plants: Experiment with other plant fibers to see if they offer the properties you need.
Conclusion
Creating cordage from plant fibers is a valuable skill that connects you to the natural world and equips you with a practical tool for various applications. Whether for survival, crafts, or simple curiosity, this ancient practice is both simple and complex, requiring attention to detail and patience. So the next time you’re out in nature, take a moment to look around and consider the potential of the plants around you—you never know what you might be able to make with them.
Happy crafting!

