Welcome to “Making Natural Glue From Pine Resin,” where you’ll discover the fascinating process of creating your own adhesive using nature’s bounty. In this article, you’ll learn how to transform pine resin into a valuable tool for your crafting and repair needs. This step-by-step guide will walk you through collecting the resin, preparing it, and finally, creating your own natural glue. By the end, you’ll not only have a useful product but also a deeper appreciation for the natural resources around you. Let’s dive in and explore how you can harness the power of pine resin! Have you ever wondered how to make your own natural glue using pine resin? If you love getting creative with DIY projects or are just curious about natural alternatives to synthetic products, making glue from pine resin is an enriching experience. Not only is it a fantastic bonding agent, but it’s also an eco-friendly option that connects you to age-old traditions of using nature’s gifts for everyday needs.

Introduction to Pine Resin Glue
Pine resin has been used throughout history for various purposes, from waterproofing boats to serving as an adhesive. This sticky substance, which pine trees naturally produce, is an excellent foundation for creating a robust and versatile glue. It’s easy to find if you know where to look and can be quite satisfying to work with.
What is Pine Resin?
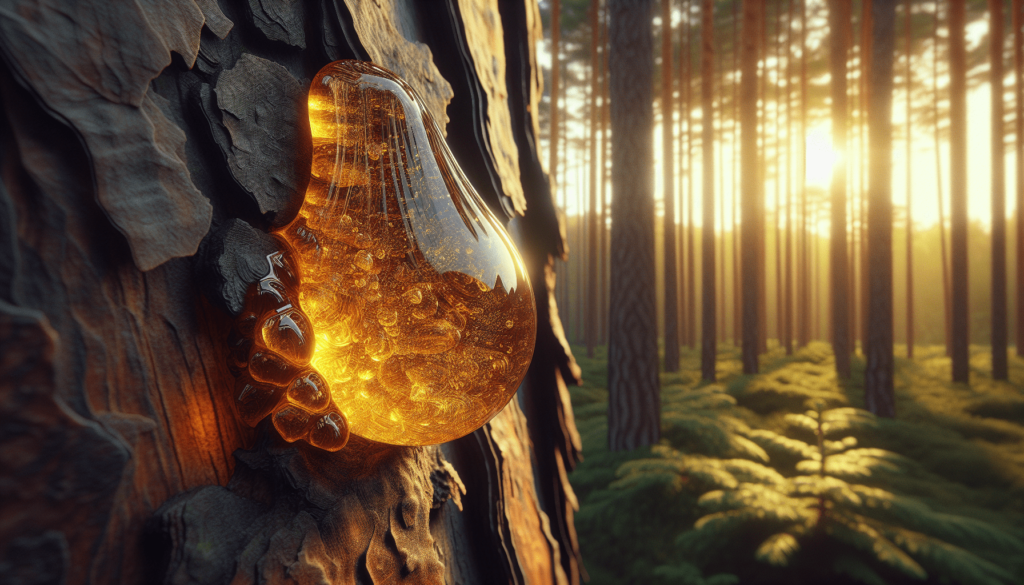
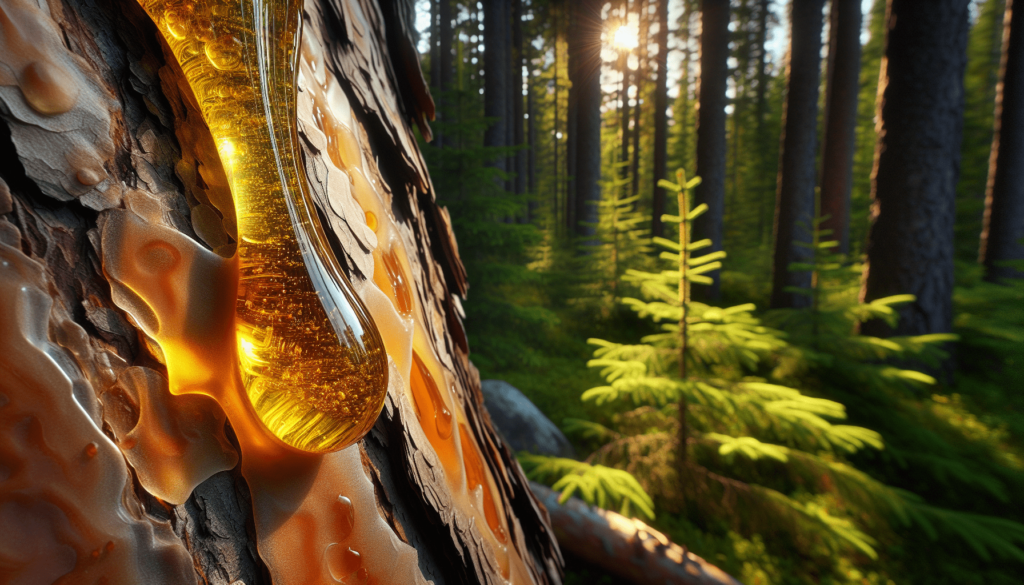
Pine resin is a viscous liquid that pine trees secrete when they are wounded. Think of it as the tree’s natural bandage. Over time, this resin hardens and can be gathered for various uses. Pine resin is composed primarily of rosin and turpentine. When processed, it becomes a solid that can be used to make glue, fragrances, varnishes, and other products.
Benefits of Natural Glue from Pine Resin
Not only is pine resin glue effective, but it also brings numerous benefits. For one, it’s biodegradable, meaning it won’t contribute to environmental pollution. It’s also free of the harmful chemicals found in many commercial glues, making it safer for you and your loved ones. Additionally, crafting your own glue can be an incredibly satisfying and educational experience, connecting you with nature and traditional practices.
Gathering Pine Resin
To make your glue, you’ll first need to gather pine resin. This process can be a rewarding part of the overall experience.
Identifying the Right Trees
Not all pine trees produce excess resin that you can easily collect. You’ll want to look for trees that have thick, sticky deposits on their bark. Here are a few common species known for their resin production:
| Tree Species | Resin Characteristics |
|---|---|
| Pine (Pinus spp.) | General high resin content with sticky sap |
| Spruce (Picea spp.) | Produce less resin, but still usable |
| Fir (Abies spp.) | Medium resin content with a pleasant aroma |
| Cedar (Cedrus spp.) | Lower resin content with aromatic properties |
Harvesting Techniques
When collecting resin, always be mindful of the tree’s health. Only take resin from already-wounded areas or minorly scratch the bark to access the sap. Ensure you bring along a container to hold your resin and a scraping tool like a small knife. Here’s how you can do it:
- Locate pine trees with visible resin deposits.
- Use your knife to scrape away the resin into your container, making sure not to damage the tree excessively.
- Collect enough resin for your project, keeping in mind that you’ll lose some material during the processing stage.
Preparing the Pine Resin
Once you’ve gathered your resin, it’s time to prepare it for transformation into glue.
Cleaning the Resin
Natural pine resin often comes with bits of bark, dirt, and other impurities. To clean it:
- Spread the resin on a sheet of wax paper or a plate.
- Use tweezers or fingers to pick out large debris.
- Rinse the smaller particles with a bit of water if necessary, though this is usually optional.
Melting the Resin
The next step is to melt the resin, which can be done using a double boiler method:
- Fill a large pot with water and bring it to a simmer.
- Place a smaller pot or heat-resistant bowl within the larger pot, creating a double boiler.
- Add the cleaned resin to the smaller pot, allowing it to melt slowly without burning.
Optional: Straining the Resin
If your resin still contains small particles, you can strain it while it’s in a liquid state. Use a fine mesh strainer or cheesecloth to remove any remaining impurities before it solidifies.
Making the Glue
Now that your resin is cleaned and melted, you’re ready to make your natural glue.
Basic Resin Glue Recipe
There are various recipes to make natural glue, but the most straightforward one involves just pine resin, and optionally some beeswax and charcoal. Here’s the basic recipe:
Ingredients
| Ingredient | Measurement |
|---|---|
| Pine resin | 1 cup |
| Beeswax* | 1/4 cup |
| Activated charcoal* | 1 tablespoon (for color and strength) |
*Optional ingredients to improve consistency and strength.
Instructions
- Melt the Beeswax: If using beeswax, add it to the melted resin and stir continuously until fully combined.
- Add Charcoal: If you prefer a darker and more robust glue, stir in the activated charcoal thoroughly.
- Mix Well: Ensure all ingredients are well-mixed and maintain a consistent temperature to prevent burning.
- Pour and Store: Pour the mixture into molds or onto a non-stick surface to cool. Once solidified, break or cut it into manageable pieces for later use.
Advanced Glue Recipes
For those wishing to explore more advanced glue formulations, try these recipes:
Recipe 1: Pine Resin and Flour Glue
| Ingredient | Measurement |
|---|---|
| Pine resin | 1 cup |
| Flour | 1/2 cup |
| Water | 1/2 cup |
Instructions:
- Melt the pine resin as previously described.
- In a separate container, mix flour and water until it forms a smooth paste.
- Slowly add this paste into the melted resin, stirring constantly to combine.
- Continue heating and mixing until the glue is uniform in consistency.
- Allow to cool before storage.
Recipe 2: Pine Resin and Pine Tar Glue
| Ingredient | Measurement |
|---|---|
| Pine resin | 3/4 cup |
| Pine tar | 1/4 cup |
| Drying oil (like linseed or tung oil) | Optional, a few drops |
Instructions:
- Boil and melt the pine resin.
- Add pine tar and stir until well combined.
- Optionally add a few drops of drying oil for enhanced water resistance and flexibility.
- Mix thoroughly and pour into molds to cool.

Using Pine Resin Glue
Once your glue has cooled and solidified, it’s ready to use. Here are some helpful tips and applications:
How to Apply
To use your pine resin glue:
- Melt the required amount: Heat the glue gently in a double boiler or over a low flame until it becomes liquid.
- Apply to surfaces: Use a brush or stick to apply the melted glue to the surfaces you wish to bond.
- Press and hold: Press the glued surfaces together and hold until the glue cools and sets.
Applications
Pine resin glue is incredibly versatile and durable. Here are a few things you can use it for:
- Woodwork: Repairing furniture, constructing small wooden items.
- Crafts: Scrapbooking, collage-making, other craft projects requiring strong adhesion.
- Sealing: Small waterproofing tasks like sealing containers or leather goods.
Storing Pine Resin Glue
Proper storage is essential to keep your glue ready for future use.
Tips for Storage
- Solid State: Store in a cool, dry place, and break off pieces as needed.
- Liquid State: Glass jars with tight lids work best if you want to keep a more liquid form.
- Premade Sticks: Form the glue into sticks or blocks for easier future melting and application. Wrap these in parchment or wax paper for better storage.
Shelf Life
Pine resin glue can last for quite some time if stored properly – think in terms of months or even a few years. However, inspect it for any mold or unusual changes in consistency before each use.
Troubleshooting Common Problems
Like any DIY project, making pine resin glue can come with its fair share of challenges. Here’s how to handle common issues:
Issue 1: Glue is too brittle
Solution: Add more beeswax or a small amount of vegetable oil while mixing to increase flexibility.
Issue 2: Glue doesn’t stick well
Solution: Ensure surfaces are clean and dry before application. If the problem persists, use less flour or more resin in your mixture.
Issue 3: Glue burns while melting
Solution: Always use a double boiler to control the temperature and prevent direct flames from coming into contact with the resin.
Environmental and Health Considerations
Using natural glue from pine resin is not just better for your projects but also for the environment. Unlike synthetic adhesives, pine resin glue does not release harmful chemicals into the air or contribute to landfill waste.
Eco-Friendly
Given its biodegradable nature, pine resin glue is a fantastic alternative to synthetic glues, which often contain volatile organic compounds (VOCs) and other harmful chemicals. Plus, by making your own glue, you reduce reliance on industrially produced chemicals, contributing to a healthier planet.
Non-Toxic
While you should still handle any glue with care, pine resin glue is notably less toxic than many commercial adhesives. Always work in a ventilated area and avoid inhaling fumes directly, but you can use it in your crafts and household projects with a greater peace of mind.
Conclusion
Creating your own natural glue from pine resin is a rewarding, eco-friendly endeavor that taps into age-old practices and connects you with nature. By learning to harvest, clean, and prepare pine resin, you gain a versatile adhesive that can be used in a multitude of projects. Not only does this contribute to a healthier environment, but it also offers a greater sense of accomplishment and understanding of traditional methods.
So, the next time you spot a pine tree, remember the versatile goldmine of adhesive potential it holds within its resin. Happy crafting!

